

Quick Summary
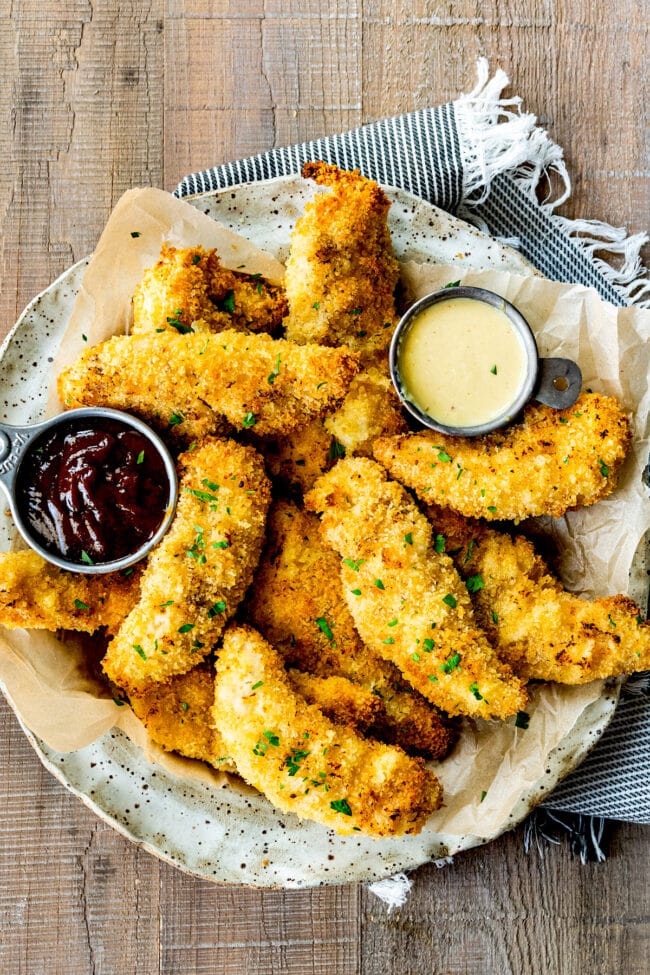
Chicken Tenders- These easy baked chicken tenders are juicy, crispy, and only take 20 minutes to make! A family favorite dinner, kids and adults love them! Serve with honey mustard sauce, BBQ sauce, or ketchup!
Do you have a few easy dinner recipes that you make over and over again? We sure do! A few of our favorites include: chicken penne pasta, taco salad, chickpea curry, taquitos and these Baked Chicken Tenders.
Our boys request chicken tenders almost every single week. They are a staple in our house and I don’t mind because they are SO easy to make. Plus, they are healthier and more affordable than buying chicken nuggets or chicken fingers at a restaurant or in the frozen section at the grocery store. Homemade is always best!
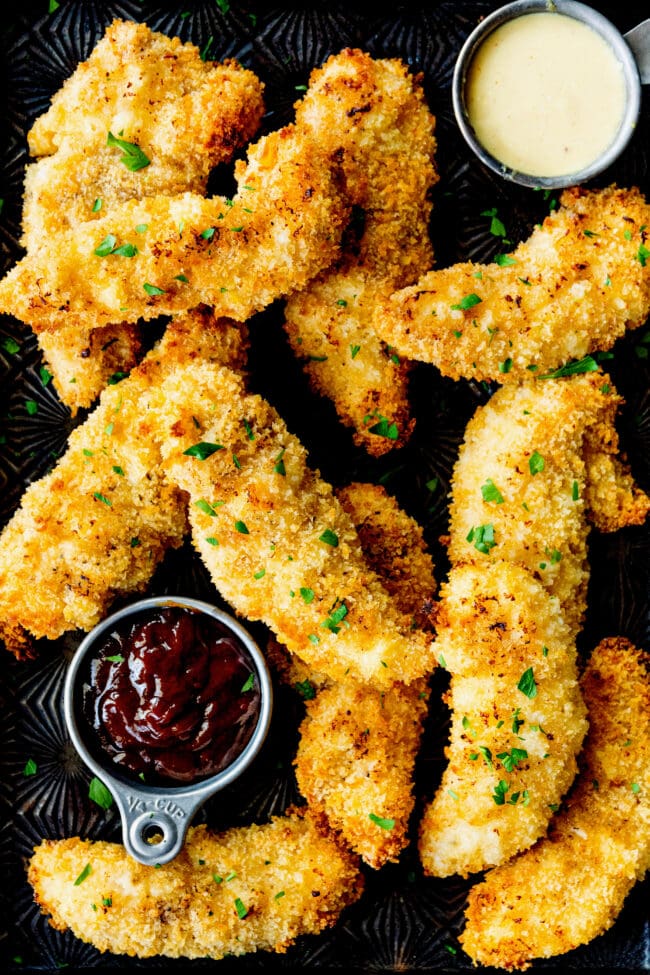
The chicken tenders are baked, not fried, but don’t worry they still get nice and crispy on the outside. The chicken is juicy, tender, and crispy coating is perfection! Kids and adults always devour these chicken tenders.
Chicken Tender Ingredients
The ingredient list is simple!
- Flour– use regular, all-purpose flour.
- Cornstarch– adding a little cornstarch helps the chicken tenders get super crispy in the oven.
- Seasonings– paprika, garlic powder, onion powder, salt, and black pepper. We like to use smoked paprika, but sweet paprika is good too!
- Eggs– beat the eggs with a little water. The eggs add moisture and help the flour and panko stick to the surface of the chicken.
- Panko– panko breadcrumbs have a dryer and flakier consistency than regular breadcrumbs and get extra crunchy and crispy! Look for them in the baking aisle.
- Chicken– you need 1 pound of chicken tenders. We like to buy chicken tenders because they are the perfect size and already trimmed, plus the chicken is super tender. If you want to use regular boneless skinless chicken breasts, you can, just trim and cut them into tender/chicken finger size.
How to Make Chicken Tenders
- Preheat the oven to 400 degrees F. You want the oven nice and hot so the chicken can get crispy.
- Line a large baking sheet with a wire rack and grease with nonstick cooking spray. Cooking the chicken on rack helps them get extra crispy and not soggy on the bottom.
- Season the chicken tenders with salt and pepper. Set aside.
- Get out three shallow bowls. In the first bowl or plate, whisk together the flour, cornstarch, paprika, salt, garlic powder, onion powder, and pepper. In the second bowl, use a fork to beat the eggs and water together. Put the panko in the third bowl.
- Season the chicken with salt and pepper. Dredge the chicken tenders in the seasoned flour mixture, coating both sides. Next, dip in the egg mixture, and then transfer to the dish with the panko. Coat both sides of the tenders with panko, pressing firmly so the panko sticks.
- Arrange the chicken tenders on the wire rack, making sure they aren’t touching. Spray the coated tenders with nonstick cooking spray.
- Bake for 10 minutes. Flip and spray with nonstick cooking spray. Bake for 5 to 10 more minutes or until cooked through. You can broil the chicken tenders for 2 minutes if you want an extra golden, crispy coating.
Serving Suggestions
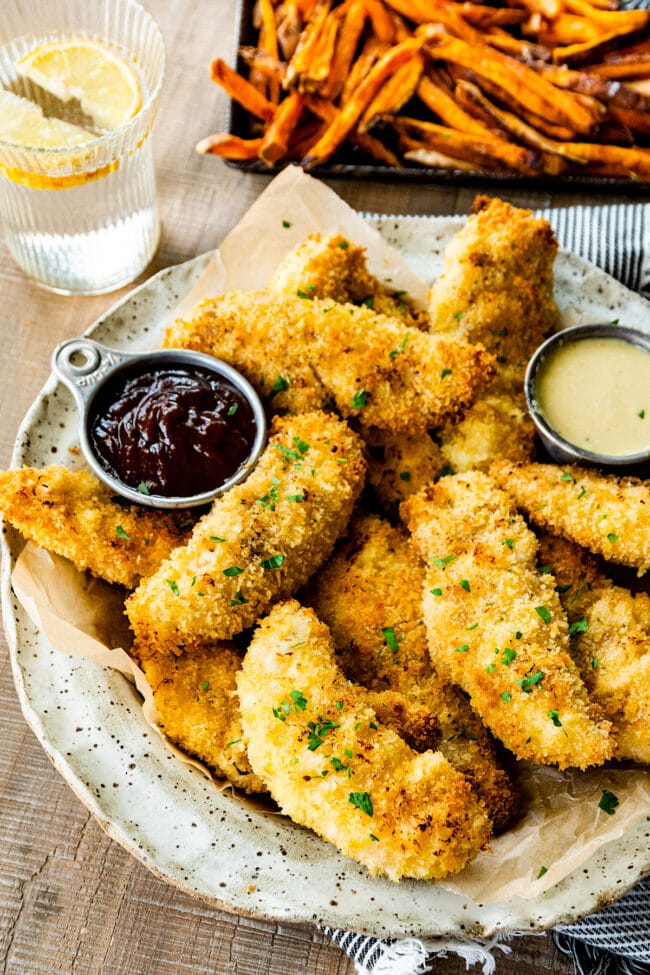
I highly recommend serving the chicken tenders with dipping sauces. Everyone likes to dip and dunk chicken fingers! A few favorites include: honey mustard sauce, BBQ sauce, ketchup, ranch, or fry sauce.
Here are a few side dishes that go well with chicken tenders!
- Sweet Potato Fries
- Baked Potato Wedges
- Roasted Broccoli
- Easy Buttermilk Drop Biscuits
- Roasted Green Beans
- Mashed Potatoes
How to Store & Reheat
Store leftover chicken tenders in the an airtight container in the refrigerator for up to 3 days. For best results, reheat them in the oven or air fryer so they can get crispy again. You can reheat them in the microwave, but they might be a little soggy. My boys don’t seem to mind though:)
You can freeze chicken tenders BEFORE you bake them. Chicken tenders are a great freezer friendly meal!
- Place the breaded chicken in a single layer on a baking sheet that has been lined with parchment paper. Freeze for several hours until the chicken tenders are firm and frozen.
- Transfer to a freezer container or freezer bag and freeze for up to 3 months.
- When ready to bake, remove the chicken tenders from the freezer and preheat heat the oven. You don’t have to thaw them first. Follow the baking instructions, but add 5 to 10 minutes to the cooking time.
- If you want to freeze chicken tenders that are already baked, you certainly can. They will keep in the freezer for up to 3 months too. Reheat the frozen tenders in the oven.
More Easy Chicken Recipes

Chicken Tenders
Ingredients
- 1/3 cup all-purpose flour
- 2 tablespoons cornstarch
- 1 teaspoon smoked paprika or paprika
- 1 teaspoon kosher salt
- 1/2 teaspoon garlic powder
- 1/4 teaspoon onion powder
- 1/4 teaspoon of black pepper
- 2 large eggs
- 1 tablespoon water
- 1 1/3 cups panko
- 1 lb chicken tenders
- Optional sauces: ketchup BBQ sauce, honey mustard, ranch, fry sauce
Instructions
- Preheat oven to 400 degrees F. Line a large baking sheet with a wire rack. Spray the wire rack with nonstick cooking spray and set aside.
- Season the chicken tenders with salt and pepper. Set aside.
- Get out three shallow bowls. In the first bowl or plate, whisk together the flour, cornstarch, paprika, salt, garlic powder, onion powder, and pepper. In the second bowl, use a fork to beat the eggs and water together. Put the panko in the third bowl.
- Season the chicken with salt and pepper. Dredge the chicken tenders in the seasoned flour mixture, coating both sides. Next, dip in the egg mixture, and then transfer to the dish with the panko. Coat both sides of the tenders with panko, pressing firmly so the panko sticks.
- Arrange the chicken tenders on the wire rack, making sure they aren’t touching. Spray the coated tenders with nonstick cooking spray.
- Bake for 10 minutes. Flip and spray with nonstick cooking spray. Bake for 5 to 10 more minutes or until cooked through. You can broil the chicken tenders for 2 minutes if you want an extra golden, crispy coating.
- Remove from the oven and serve warm with desired dipping sauces.
Nutrition
Have you tried this recipe?
Leave a comment below and share a photo on Instagram. Tag @twopeasandpod and hashtag it with #twopeasandtheirpod
I didn’t have the pleasure of trying this recipe myself, but I heard that my young children loved it (not the easiest feat!)! I was in the hospital and a friend made this and brought it by for my family. She shared the recipe with me so I finally plan on making this tonight. Can’t wait to try it myself! Thanks!
How sweet! Enjoy!
I will try this recipe. I would like you to share with me how you remove the tendons in each and every chicken breast or chicken tender. I have a difficult time with that. I literally end up mangling the pieces. I know a lot of cooks do not remove it, but all I read says to remove it unless you like gristle and hard to chew pieces in your chicken. I have even watched videos on how to remove it. Looks easy enough but doesn’t work for me. Can you email me your response? I’m not sure how long I have to wait to get back to this recipe and find your reply. Thank you for all your excellent recipes. I also am Italian.
These children tenders were delicious Thanks for the receipe
Chicken tenders were delicious
I made these tonight for my husband and I , they were delicious so moist!!! I served it with a basil pesto aioli, definitely a keeper.
I bet they were delicious with that aioli, thanks for sharing!
Made these for lunch today and they were the best! Five stars all the way.
Yay!